
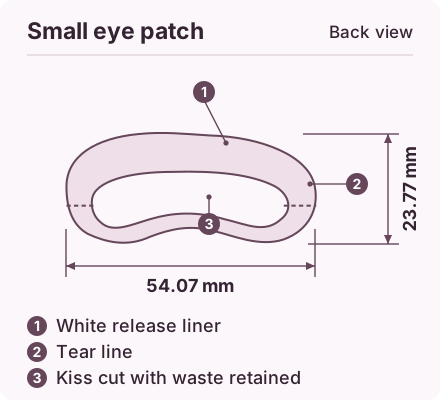
Give the page a scale reference
Place a labeled reference line on the drawing, away from the patch contour. Identify the intended paper size and orientation. In the print dialog, choose actual size and review the preview for clipping. If the part extends beyond the printable area, use suitable paper or a tiled proof with alignment marks. Keep the page label and revision visible on every piece.
Measure before tracing
Measure the reference line on the physical page and compare it with the stated length. Check an independent dimension in the other direction if the proof will be used to compare two profiles. If the scale is off, correct the print settings and repeat the measurement before cutting out the mockup. Record the print date or keep a photo of the verified reference with the review comments.
Frequently asked questions
Does a screenshot at 100 percent show the actual part size?
Screen size and display scaling vary. Use a dimensioned reference and verify the size of the physical proof you intend to handle.