
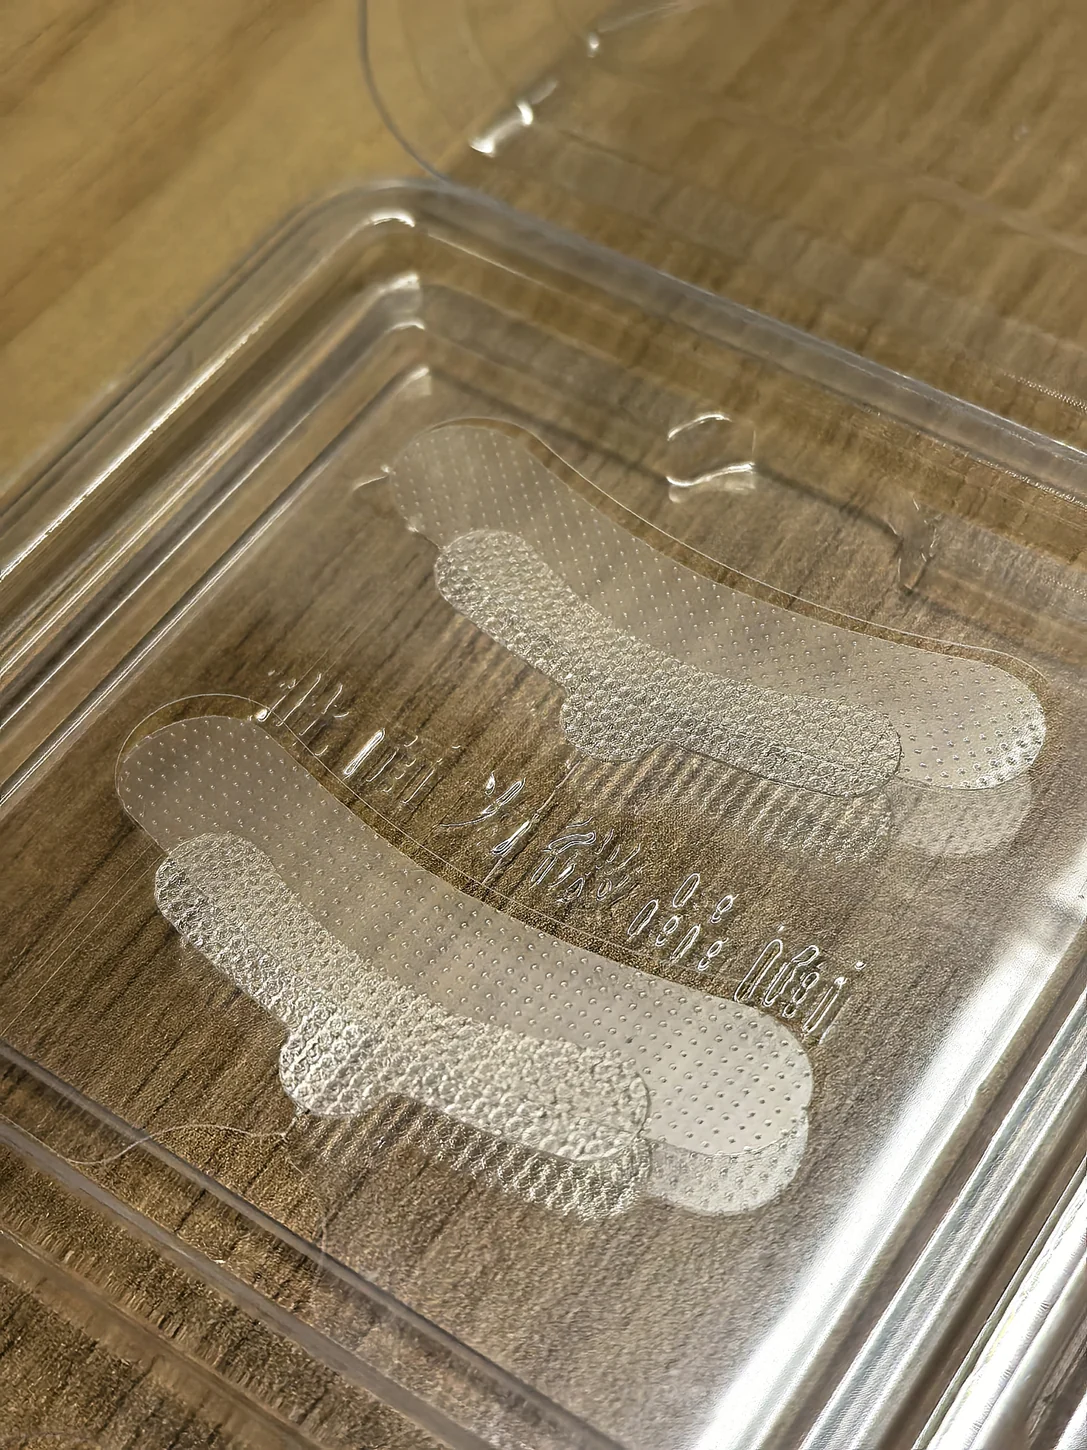
Establish an overview
Lay the carrier on a flat background that makes its boundary visible. Place a length reference in the same plane without covering the patch. Keep the camera facing the sheet squarely for the overview. Identify the front or back view, the size and the drawing revision. For mirrored pairs, label the pieces before separating them so the detail image can be traced back to a position.
Add the detail with context
Take one closer view with the relevant edge in focus and one wider view showing where it lies. Use side lighting only when it helps show a lifted or curled region. Keep the unmarked original as well as any annotated copy. If the supplier needs a tolerance decision, supply the agreed measurement and the physical sample reference alongside the photographs.
Frequently asked questions
Can a ruler in a photo verify a tight tolerance?
It provides scale for discussion. Approval should use the measurement setup and acceptance criterion agreed for the feature.